

How To Make One Inch Margins On Google Docs
The steps in this article are going to show you how to change margins in Google Docs from the Page Setup menu. We will go over the steps briefly at the start of the article, then we will continue with additional information and pictures for each of the steps.
- Sign into Google Drive and open an existing Google Docs file or create a new document.
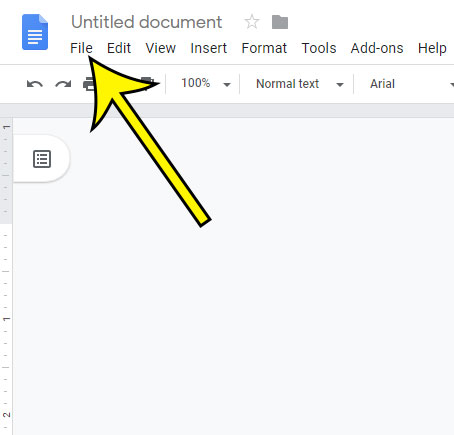
- Select theFile tab at the top-left of the window.
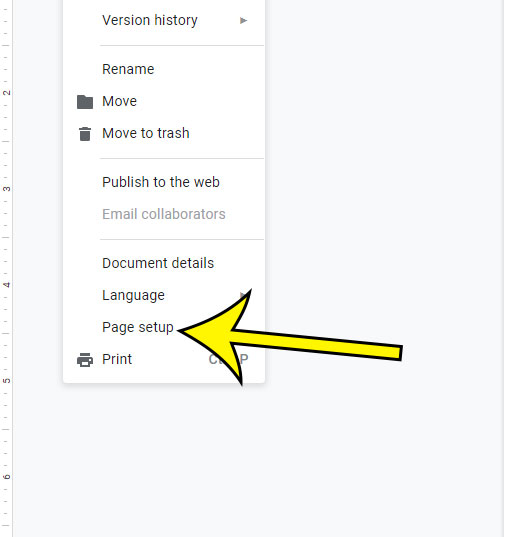
- Choose thePage setup option at the bottom of the menu.
- Set margins by changing the values in each of the margin fields to 1.
- Click theOK button to apply the change.
Word processing applications like Microsoft Word and Google Docs provide you many ways to format your document. Whether you need to use a specific font or a particular type of indent, there is probably a setting that you can change to make that adjustment.
One setting that you may need to apply is a 1 inch margin. This is a common requirement for many institutions, as a common margin size can make it easier for a teacher or supervisor to write notes, while also ensuring that page length requirements aren't being manipulated.
How to Set 1 Inch Top, Bottom, Left and Right Margins in Google Docs
The steps in this article were performed in the desktop version of the Google Chrome Web browser, but will also work in other desktop browsers like Mozilla Firefox or Microsoft Edge.
Step 1: Sign into your Google Drive at https://drive.google.com and either open an existing Google Docs document, or click the New button and create a new document.
Step 2: Click theFile tab at the top-left of the window, under the document name.
Step 3: Select thePage setup option at the bottom of the menu, which is going to open a new Page setup window.
Step 4: Set the value for the top margin, bottom margin, left margin, and right margin to 1.
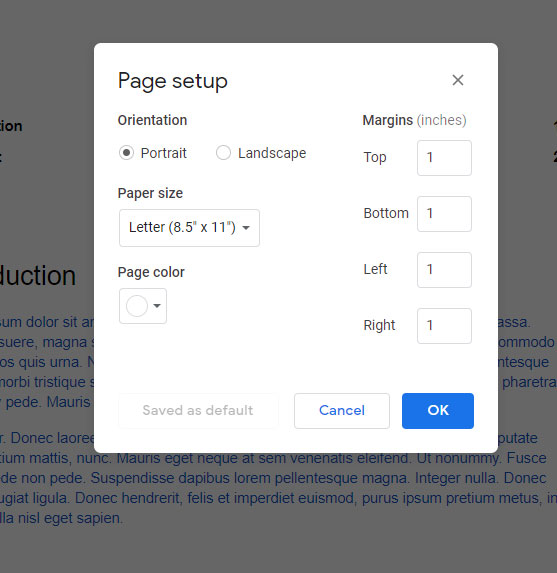
Step 5: Click theOK button to set your page margins.
You may notice that there is aSet as default button at the bottom-left of this menu. If you would like your default margins to be 1 inch for all future documents that you create in Google Docs, then you may want to click that button to apply the setting.
The margins of your document are the white space around the edge of the page. This includes the area at the top of the page, which is also known as the header. If you have information in that location, such as a page number, then its location may be affected if you adjust the size of your document margins.
Another Way to Make 1 Inch Margins in Google Docs
There is another method that you can use to adjust the page margins for your document. Simply place your mouse cursor at the left, right, top or bottom of the rulers on the edges of the document until the cursor changes to a line with an arrow on each end, then click and drag to adjust the margin size. I have placed my cursor in the correct location to adjust the left margin in the image below.

Depending on your document editing preferences, this may be more comfortable method of setting one inch margins.
Find out how to do a grammar check in Google Docs if you want to make sure that you aren't making any serious errors in your document content.

Kermit Matthews is a freelance writer based in Philadelphia, Pennsylvania with more than a decade of experience writing technology guides. He has a Bachelor's and Master's degree in Computer Science and has spent much of his professional career in IT management.
He specializes in writing content about iPhones, Android devices, Microsoft Office and many other popular applications and devices.
How To Make One Inch Margins On Google Docs
Source: https://www.live2tech.com/how-to-do-1-inch-margins-on-google-docs/
Posted by: lankfordevelve1960.blogspot.com
0 Response to "How To Make One Inch Margins On Google Docs"
Post a Comment